Integrating with Perforce
Compatible with SpiraTeam and SpiraPlan
Installing the Perforce Plug-In
To install the Perforce Version Control plug-in, copy the following files to the folder named "VersionControl" in the Spira installation folder:
- Inflectra.Global.dll
- P4API.dll
- P4DN.dll
- PerforceProvider.dll
Configuring Perforce in Spira
Before you can start using Perforce in Spira you need to setup, at a system level, how Perforce and Spira should work together:
- Log in as a system admin, and go to System Admininstration > Integration > Source Code
- If there is not already an entry for "PerforceProvider" click "Add" to go to the Plug-in details page
Complete the form on this page as below:
- Name: The name must be "PerforceProvider".
- Description: The description is for your use only, and does not affect operation of the plug-in.
- Active: If checked, the plug-in is active and able to be used for any project.
- Connection Info: This field is the server's DNS or IP with the port to connect to. No depot information or root directory is to be specified here. Do not enter in any protocol, like http:// or ftp://.
- Login / Password: The user id and the password of the user to use while accessing and retrieving information from the Subversion server. If either field needs to be blank, enter in 'anonymous'.
- Domain: Not used.
- Custom01: The client name is to be entered here. The plugin will attempt to create the client if it does not exist. Unless you have a client pre-defined for the plugin, we recommend using the default, "PerforceProvider".
- Custom02: The base depot or root directory must be entered here.
- Custom04: (This is not used and can be left empty)
- Custom03: The encoding to use for the Perforce server (Optional). Depending on your instance you may need to use: utf-8, utf-16, utf, utf8-bom
- Custom05: Normally this should be left empty. However if you need to enable more detailed logging, just enter the word 'true' in the box to enable trace logging.
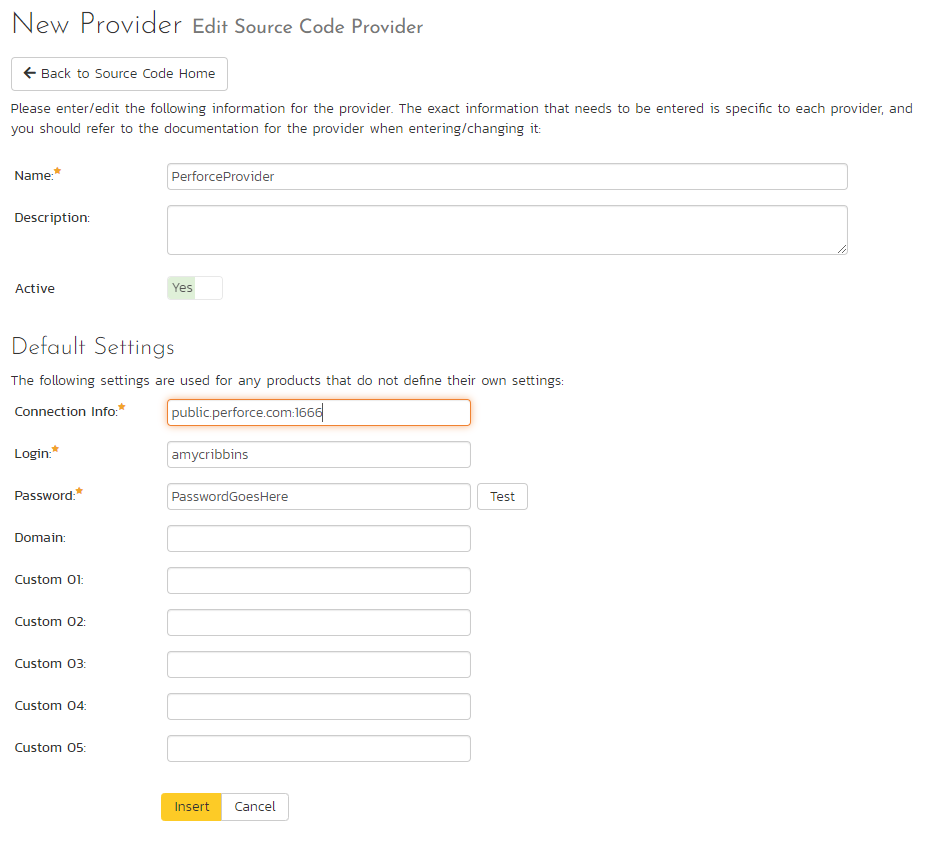
When finished, click "Insert". You will be taken back to the Source Code list page, with PerforceProvider listed as an available plug-in.
Use Perforce for Your Product
Once Perforce has been configured at the system level, you are ready to use it for any products you need to.
- First go to the product you want to use for Perforce as a product admin
- Go to Product Admin > General Settings > Source Code
- You will be taken to a list of all the providers on your system. Find the PerforceProvider row; make sure the product dropdown has your current product selected; and click the arrow to the right of the product name to manage Perforce for that Product
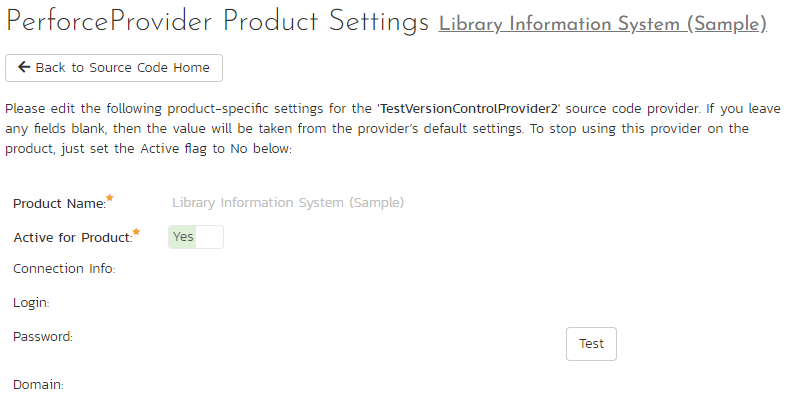
- You will now be on the "PerforceProvider Product Settings" page for your chosen product
- If not already active, set "Active" to use and click "Save"
- The product Perforce settings screen will now let you fully manage all its settings
- Make sure to override any of the system wide defaults (as outlined above). In particular, the Connection Info (the URL to the repo) should be set to the right repo for this product.
- Click "Save" after making any changes.
Using Perforce with Spira
Source code setup for your product is complete. Click on the "Source Code" or "Commits" menu items under the Developing tab to navigate and browse the source code repository.
You can read more about working with source code in Spira at the links below: