Importing From Requirements Interchange Format (ReqIF) Files
The SpiraTeam ReqIF Importer imports requirements, specifications, custom properties, relationships and other information from Requirements Interchange Format (ReqIF) files into SpiraTeam.
Installing the Importer
This section outlines how to install the importer onto a desktop so that you can then import requirements from ReqIF files into SpiraTeam. It assumes that you already have a working installation of SpiraTest, SpiraTeam, or SpiraPlan (hereafter SpiraTeam) v6.0 or later.
You can download the Importer from the Inflectra's website under "Downloads and Add-Ons". When downloaded, double-click the MSI file. Follow the instructions in the MSI file to install the importer.
Importing from a ReqIF Requirements File
Now that you have installed the integration adapter, you can launch it at any time by going to Start > Programs > SpiraTeam > Tools > ReqIF Importer. This will launch the import application itself. You will be shown an introduction screen.
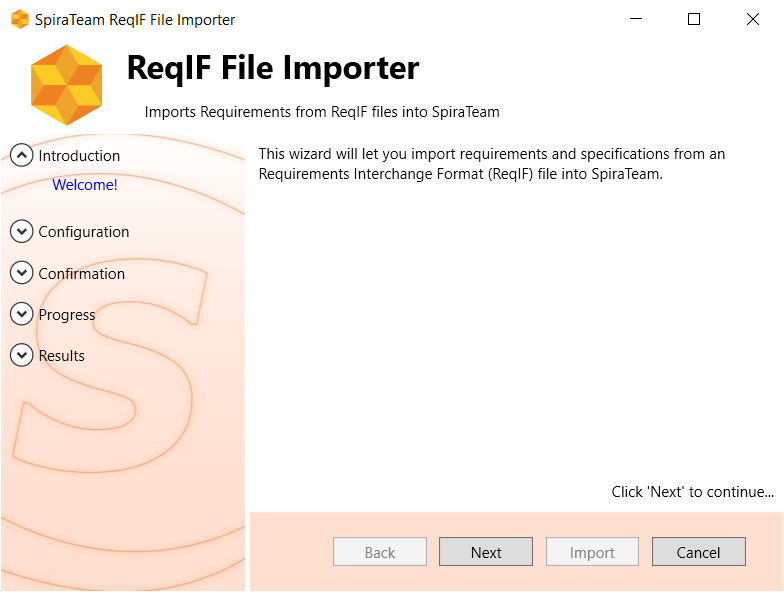
Click 'Next' to get to the second screen:
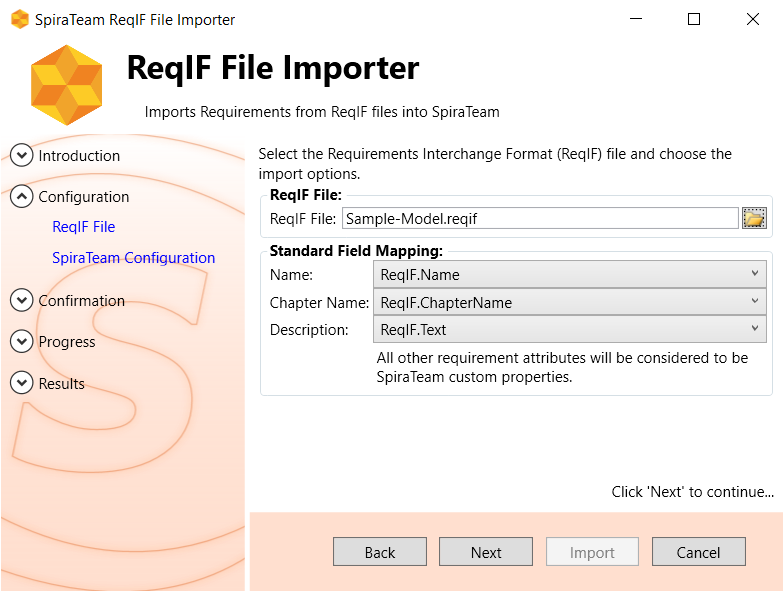
Click the folder button
( ) to open the file open dialog. In this
dialog, select the Requirements Interchange Format (*.reqif) file that you
want to use for importing.
) to open the file open dialog. In this
dialog, select the Requirements Interchange Format (*.reqif) file that you
want to use for importing.
Choose the requirements attributes you want from the .ReqIF file model to map to the Name and Description fields in SpiraTeam. Any other fields will be imported as custom properties.
The field mappings will depend on the tool you are importing from. The default values are: - Name: ReqIf.Name - Chapter Name: ReqIf.ChapterName - Description: ReqIf.Text
See the appendix for how Rational DOORS and Rational Requirements Composer ReqIF Files Work
Once the file is selected, and the name/description attributes mapped, click Next to continue to the screen where you enter your SpiraTeam project information:
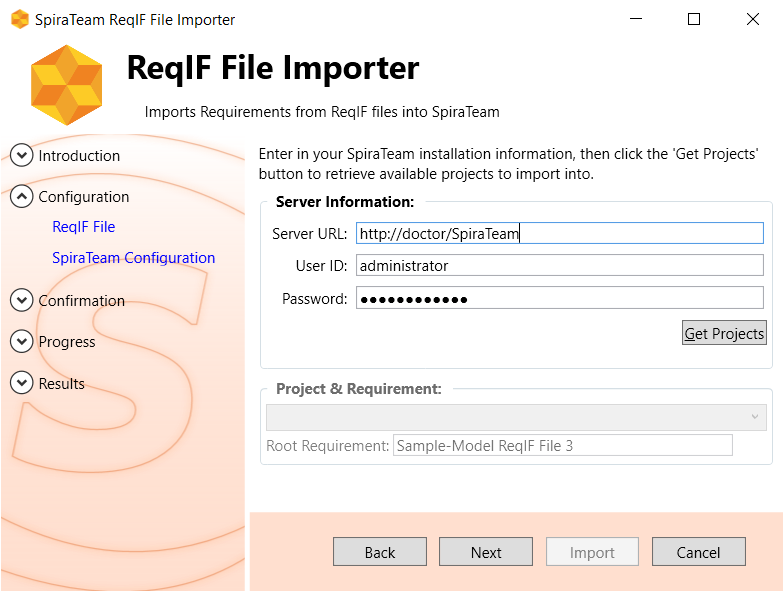
If the file you selected in the previous step was already lined to a SpiraTeam project, that information will be automatically populated in the fields, and you can click Next to proceed.
Otherwise, enter in the SpiraTeam Server URL, your username and password used to log onto the system with and click the Get Projects button. The program will connect to the server and get a list of all available projects. Select the project you want to import into under the Project & Requirement section.
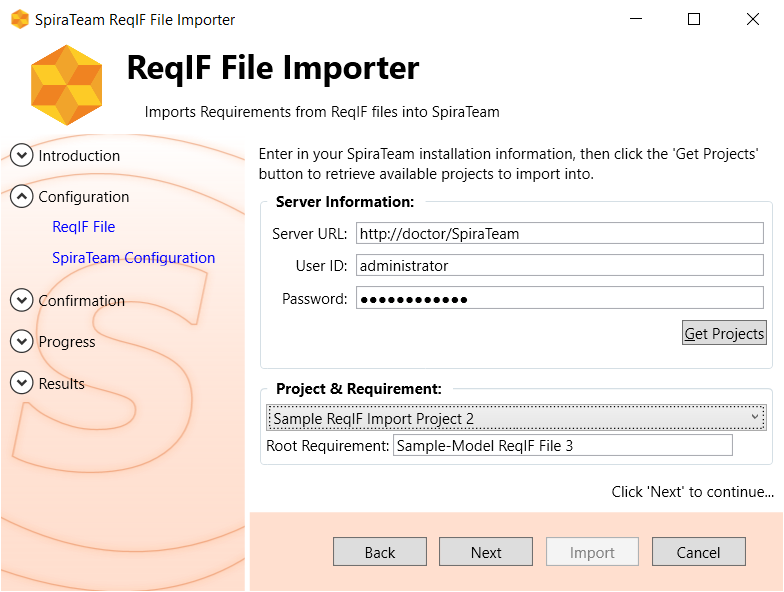
The Root Requirement box is for specifying the name of the parent requirement in SpiraTeam, that all the imported requirements will be nested under. The system will default this to the name of the ReqIF file unless you choose something else.
Once the fields are entered, click Next to get to the summary screen. The summary screen tells you what will be done, and once it's reviewed, click the Import button to start importing:
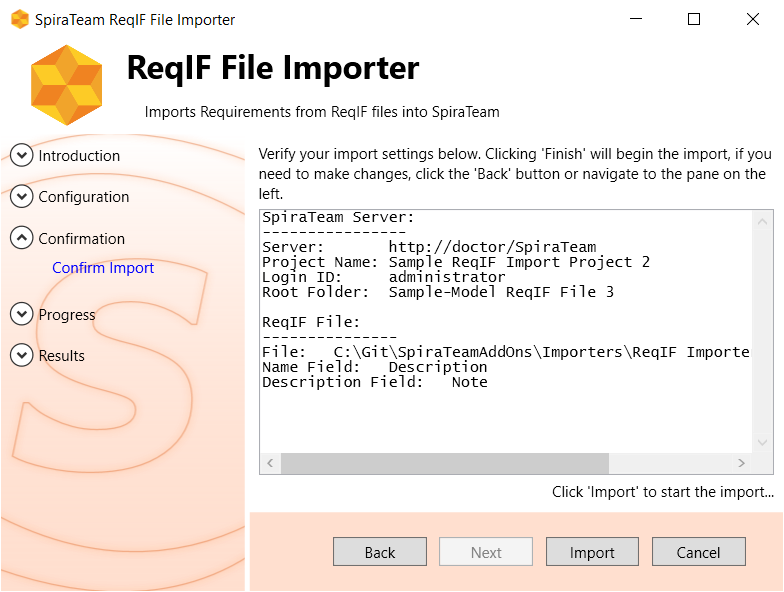
Anything flagged with a:
- red  failed
- green
failed
- green  means that they succeeded
Once finished, click Finish to get to the last page of the wizard:
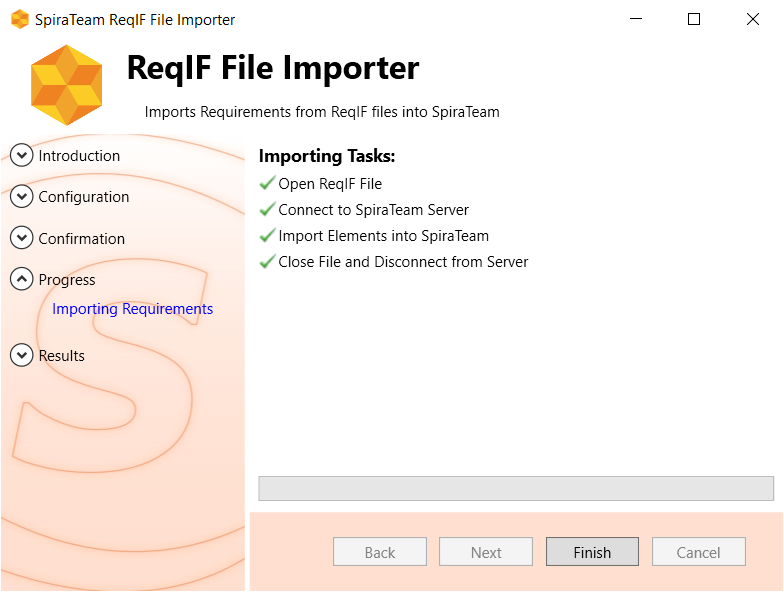
If anything failed, you can view the details import log at the following location:
C:\ProgramData\SpiraTeamReqIFImporter.log
ReqIF & SpiraTeam Importing Notes
- The importer uses the ReqIFSharp library and supports the following ReqIF versions:
- ReqIF v1.0.1
- ReqIF v1.1
- ReqIF v1.2
- The importer will bring across the requirements hierarchy from the ReqIF file.
- It will also import any cross-relationships between requirements.
- It will store the special unique ReqIF identifier field for each requirement in a special 'identifier' custom property.
- It will bring over any text, boolean and enumeration (list) attributes as the corresponding custom properties in SpiraTeam.
For example, if you import the sample Sample-Model.reqif file that is supplied with the importer, you will see the following requirements in SpiraTeam:
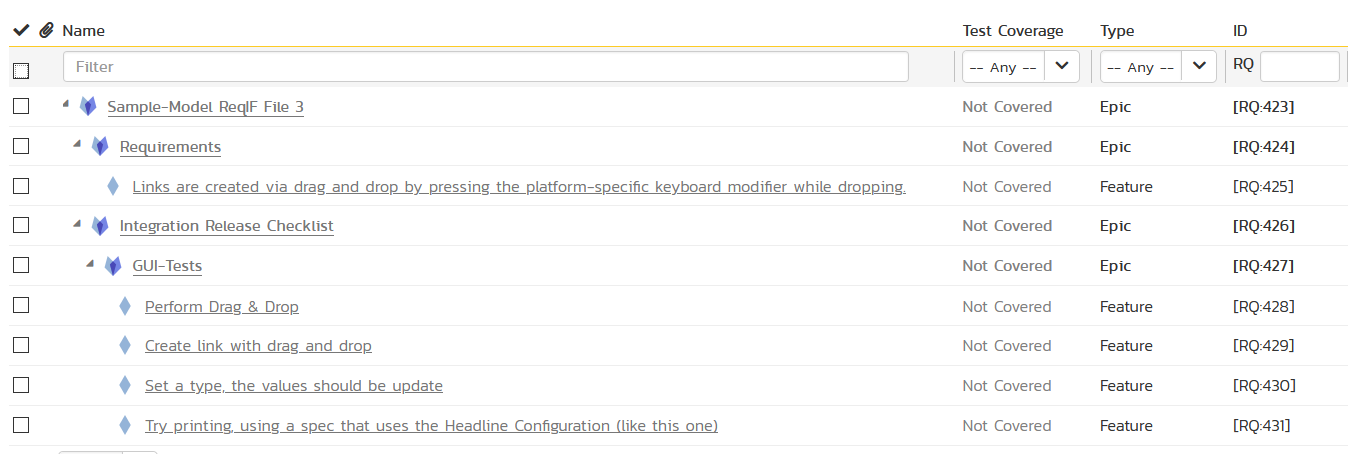
In addition, the importer will create the necessary custom properties as needed automatically:
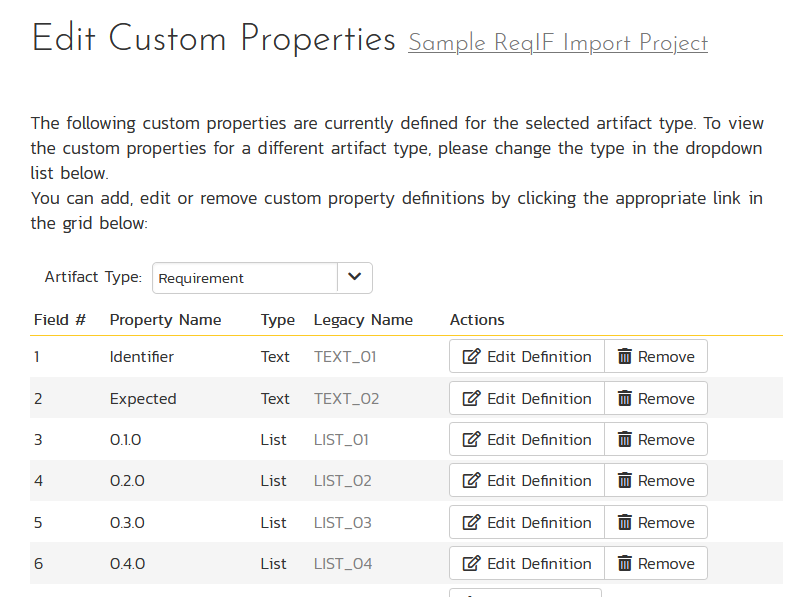
If you run the same import twice, the importer will create a new requirements hierarchy each time, but it will reuse the existing custom properties if they are already defined in the SpiraTeam product.
Appendix A: IBM Rational ReqIF Format Notes
IBM Rational DOORS
In the ReqIF files produced by IBM Rational DOORS, typically each Specification has its own type and only contains Items of a single type.
Because the association between specification and item type is only defined indirectly via:Specification > > SpecHierarchy > SpecObject > SpecObjectType, the item type of an empty specification is undefined, and will be listed under the non-exclusive/shared item types.
DOORS requirements also have (along with lots of other attributes), each a
- ReqIF.ChapterName
- ReqIF.Name
- ReqIF.Text
But whether the attribute actually has a value, depends upon the type of the requirement:
- A DOORS Heading has a value for the ReqIF.ChapterName, but ReqIF.Name and ReqIF.Text are typically empty.
- Non-Heading types, for example requirement have a value for ReqIF.Text, but both, ReqIF.ChapterName and ReqIF.Name are typically empty.
IBM Rational DOORS Next Gen / Requirements Composer
In ReqIF files produced by IBM Rational Requirements Composer (aka DOORS Next Generation), Specifications typically contain items of different types, for example,. Heading, Information, Requirement etc.
Because all these items are mapped to the same target tracker, each item type must have a unique set of qualifiers, to identify items of this type in the tracker. For example, Heading items are those items in the target tracker, where Type == Folder
Specifications can also refer to (config) items, that are not part of the Specification itself, for example Actor.
These separate Item Types should typically be mapped to appropriate config item trackers, for example, Actor.
In IBM Rational Requirements, all item types have a ReqIF.Name and a ReqIF.Text, that should be mapped to Spira Name and Description.
The item type Heading also has a ReqIF.ChapterName, but the value of this attribute is the same as ReqIF.Name, so it can be safely ignored.